There are three ways to allocate backorders to customers in Micronet. The method you use depends on your internal order/allocation processes. The three methods are:
When you use the Automatic Backorder Allocation program, Micronet interrogates stock availability and customer backorders and creates an allocation batch. You can then double check and/or adjust any of the allocations before releasing them as invoices or picking slips.
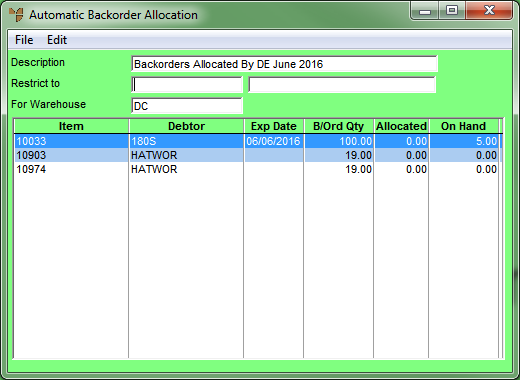
Micronet displays the Automatic Backorder Allocation screen.
Use a meaningful description in case the batch needs to be held and recalled at a later date, e.g. "Backorders Allocated by John 12/6/16".
Micronet displays the Automatic Backorder Allocation Header screen.

|
|
Field |
Value |
|
|
Allow Partial Allocation |
Select Yes if you want to allow partial allocations of items to customer backorders, or No if you don't. If you select Yes, Micronet will allocate items even if the customer order can't be completely fulfilled, e.g. they have 10 items on backorder but you only have 7 available to ship. |
|
|
Keep Minimum Stock |
Select Yes if you want Micronet to maintain the minimum stock level on the shelf before allocating free stock to customer backorders. Select No if backorder allocations override minimum stock levels. |
|
|
Allocate to Held Customer |
Select No if you only want backorders allocated to customers whose accounts are not on hold. Select Yes if you want Micronet to allocate backorders for all customers, including those with an On Hold flag. |
|
|
Look at Purchase Orders |
Select Yes if you want Micronet to consider items on purchase orders that are due in from your suppliers, or No to ignore purchase orders. If you select Yes, Micronet checks the anticipated delivery dates and matches these to backorders that could potentially be delivered if those items came in on time. |
|
|
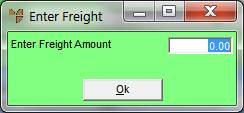
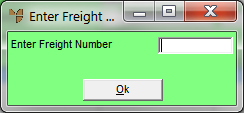
Freight |
Select an option for how you want freight calculated and applied to the goods. Options are:
|
Micronet scans your item and orders files for the details of items to be purchased. When it has finished, it redisplays the Automatic Backorder Allocation screen with all items matching your criteria. The items and quantities to be ordered are displayed on your screen for your verification and so you can make any changes required.
Micronet displays the Backorder Allocation screen. The Allocated field displays the quantity of the item automatically allocated to the customer's backorder.
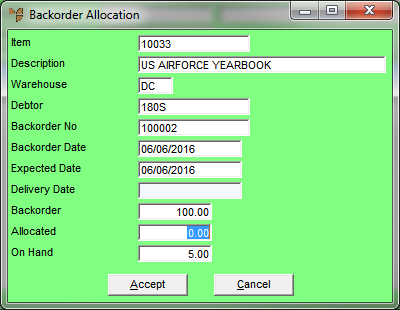
This is the only field you can change on this screen.
Micronet redisplays the Automatic Backorder Allocation screen.
|
|
|
Technical Tip If you toggled the ALWAYS PRINT COMPILED SLIPS option off on the Automatic Backorder Allocation screen, Micronet will only print picking slips when a backorder has been fully allocated. Therefore, when a picking slip is printed, it shows that the order is ready to be shipped and invoiced. |